

The difference between clothes that last a decade and clothes that fall apart in two years isn’t just price, it’s how you treat them.
I’ve destroyed clothes that deserved better. A sweater that came out of the dryer two sizes smaller. A pair of nice boots that lost their shape without shoe trees. Dress shirts with a staining in the pits that no amount of washing would touch, because I’d been washing them wrong for two years before I figured out the problem.
Every one of those mistakes was preventable. The care isn’t complicated, it’s just specific, and not intuitive.
A quality OCBD cared for correctly lasts seven to ten years. A properly maintained wool suit can last your whole career. Leather shoes resoled once or twice cost far less over a decade than the replacements they prevent. The cascade wardrobe in Men’s Capsule Wardrobe: A Practical Guide for Real Life only works if the clothes are actually worth cascading, which means caring for them well enough that they hold up through multiple life stages.
This guide covers every tier of an active professional wardrobe, organized by clothing type because the right care approach starts with the fabric in your hand, not the setting on your machine. There’s also a dedicated section at the end for caring for your clothes while traveling.
How to Use This Guide
Find the section for the item you’re looking at. Each one covers laundry, storage, and repair vs. replace as a complete unit, so you get everything you need in one place rather than hunting across three sections. The foundations section covers the principles that apply across everything.
The Foundations
The Repair vs. Replace Framework
Throughout this guide you’ll see repair recommendations. Before diving into each clothing type, here’s the framework I use to decide whether something deserves another decade or its replacement.
1. Does it fit? If it doesn’t fit and can’t be altered to fit correctly within reasonable cost (approximately 10–20% of replacement cost), replace. Clothes that don’t fit belong in neither your wardrobe nor your closet.
2. Is the damage structural or cosmetic? Cosmetic damage like pilling, surface scuffs on leather, minor fading, and a missing button is almost always worth repairing. Structural damage, like holes through the fabric at stress points, moth damage throughout the body, seams separated beyond clean repair require the cost-vs-quality calculation.
3. What does repair cost relative to replacement? If repair costs less than 50% of equivalent-quality replacement, repair. For a well-fitting suit, favorite leather shoes, or a cashmere sweater, err toward repair even beyond that threshold. A garment that fits you perfectly and has proven itself is worth more than its replacement cost.
4. Is there a cascade option? Before replacing or discarding, ask whether the item steps down. A dress shirt with collar wear becomes a WFH shirt. A blazer that no longer works for client meetings becomes the church blazer or the home office blazer. Functional outdoor gear replaced at the technical tier becomes the around-town or yard work layer. Step it down, don’t throw it out.
5. If replacing, buy up. The piece you’re replacing taught you what you need regarding fit, weight, and features. Apply that knowledge to buy a better version. This is how the wardrobe improves over time rather than cycling at the same level.
The Five Enemies of Fabric
Every care recommendation in this guide protects against one or more of these:
- Heat — shrinks natural fibers, breaks down synthetics, weakens elastic, sets stains permanently
- Agitation — causes pilling on wool and fine knits, weakens seams, damages delicate construction
- Detergent residue — left behind from insufficient rinsing, attracts dirt faster and stiffens fibers
- Prolonged moisture — where mildew, fiber degradation, and color bleed begin
- Friction — the mechanical cause of pilling, collar wear, and seat shine on trousers
The Default Settings That Destroy Clothes
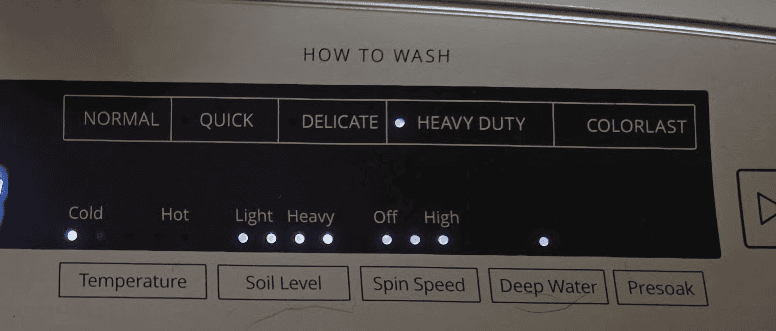
The default setting on most home dryers is high heat. It is the wrong setting for almost everything in a quality wardrobe.
Hot water shrinks cotton and wool, fades dyes, and degrades elastic. High-heat drying compounds all of it while weakening fibers through repeated thermal stress. Cold water and low heat or no heat are the right defaults for nearly everything you own.
Use Less Detergent Than You Think
Detergent packaging tells you to use more than you need, to sell you more detergent. Most high-efficiency washers work fine with half the recommended amount. Too much leaves residue that dulls colors, stiffens fabric, and makes clothes attract dirt faster between washes. For wool and delicates, use a purpose-made gentle detergent (Woolite, The Laundress, Soak) in an even smaller amount.
Understanding Clothing Care Labels
The care tag exists because the manufacturer knows how the fabric and construction respond to heat, water, and agitation. When the care label conflicts with general advice, follow the label.
The symbols look confusing until you know the basics:
- Tub: Washing instructions
- Triangle: Bleach
- Square: Drying
- Iron: Ironing temperature
- Circle: Dry cleaning
One crossed-out symbol means “do not.”
When in doubt, cold water and low heat are almost always the safest starting point.
Wash Less Than You Think
Every wash cycle is mechanical stress on fabric. It removes dye, degrades fiber, and shortens a garment’s life. Many things in your hamper don’t need to be there.
General wash frequency:
- Dress shirts: After every wear
- T-shirts and underwear: After every wear
- Chinos and dress trousers: Every 3–5 wears unless visibly soiled
- Jeans: Every 5–10 wears; spot-clean when possible
- Blazers and jackets: Every 5–10 wears; dry clean 1–2 times per year maximum
- Wool sweaters: Every 3–5 wears; air out between
- Suits: Dry clean no more than twice a year; steam between wears
Hanging something on a chair for 30–60 minutes after wearing lets body heat and moisture release and extends the time before the next wash.
That said, climate matters. In hot, humid places like Florida, clothing exposed to heavy sweat should be washed more frequently than these general guidelines suggest.
Dress Shirts and Casual Button-Downs
Laundry
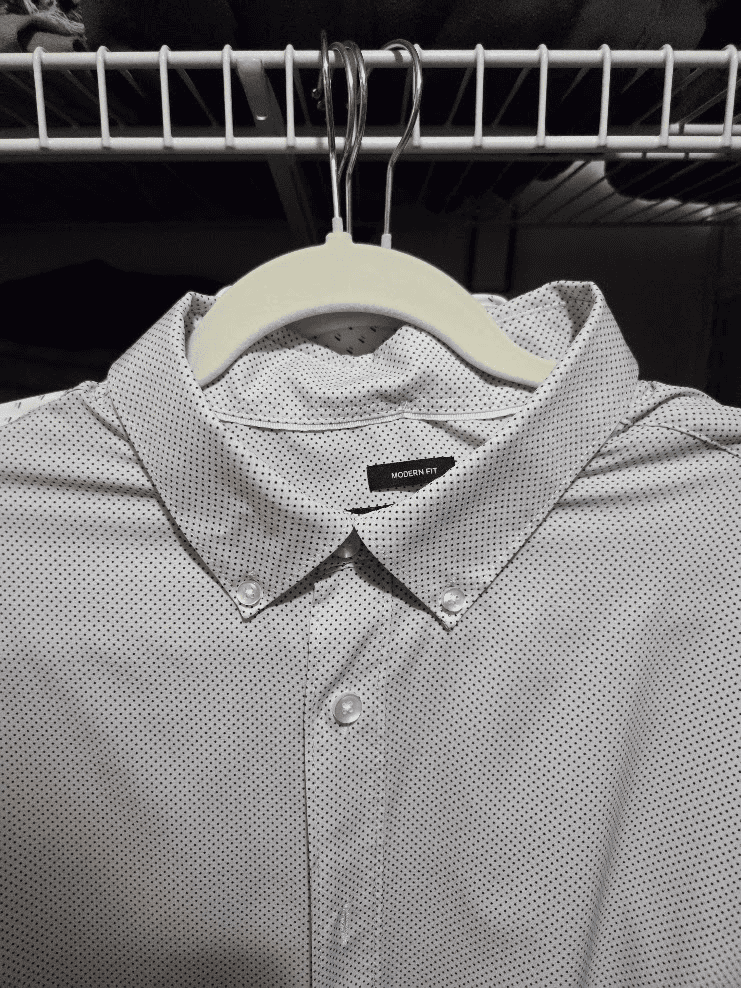
Machine wash cold, gentle cycle, inside out. Turning shirts inside out protects the outside surface, the buttons, and the collar edge from direct agitation. Make sure to separate white shirts and colored clothes.
Collar and cuff pre-treatment is recommended. These areas accumulate the most body oil and product residue. Apply a pre-treatment spray or a small amount of liquid detergent directly to the collar and both cuffs, rub lightly, and let it sit for 10–15 minutes before the wash. The grey ring that appears on dress shirt collars over time comes from skipping this step, and it’s nearly impossible to correct once it’s set in.
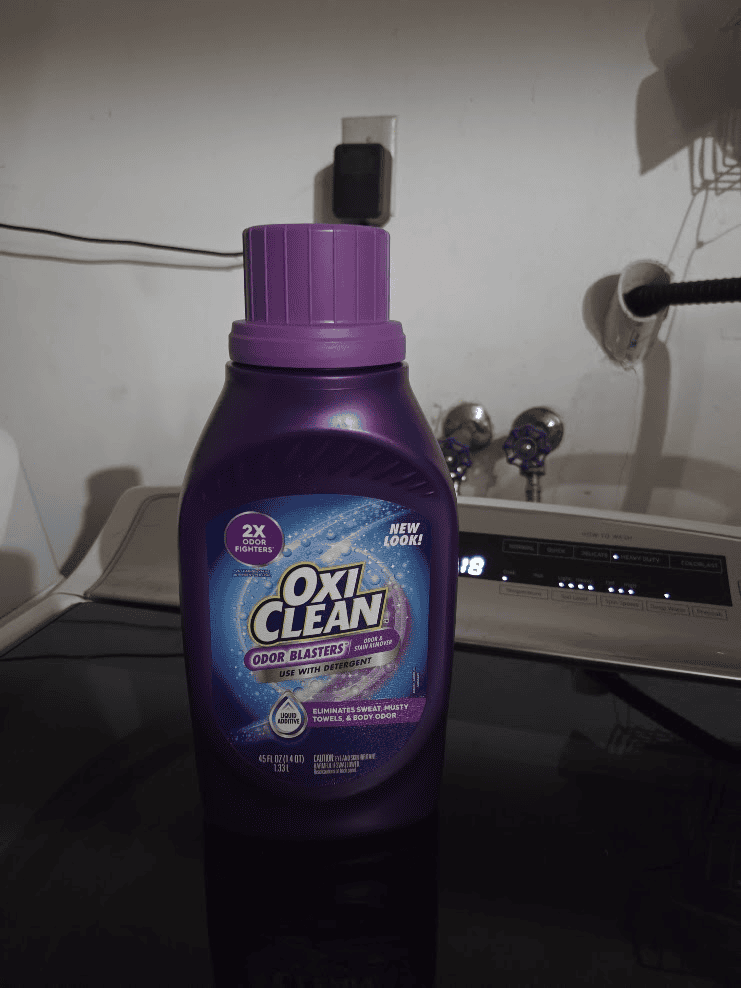
For whites: Add a non-chlorine oxygen booster like OxiClean to maintain brightness without the damage that chlorine bleach causes over time. Bleach yellows fabric, which is the opposite of what most people expect.
Drying is where most dress shirts die prematurely. High-heat machine drying shrinks cotton, cracks or dulls buttons, and permanently sets any stain that wasn’t fully removed in the wash. The right approach: remove from the washer promptly, shake out and smooth seams by hand, then hang on a hanger to air dry. If you’re pressed for time, tumble dry on low heat for 15–20 minutes and hang to finish drying. Remove slightly damp to make ironing easier.
Ironing sequence: Collar points first, then the collar band, then cuffs, then sleeves, then the body. Most men do this in reverse and end up re-wrinkling what they already ironed. You should buy a garment steamer as a faster option than an iron for shirts that aren’t heavily wrinkled and are already hung.
Storage
Wooden or quality contoured plastic hangers only — never wire dry-cleaner hangers. Wire distorts the shoulder over time and leaves a point at the collar that doesn’t iron out. Button the top button and one or two below to maintain collar shape while hanging.
Remove shirts from dry-cleaning plastic bags immediately. The plastic traps moisture and chemicals that yellow fabric. Hang the shirt, discard the bag.
White shirts stored in direct light yellow over time. You should store these in a closet.
Repair vs. Replace
Repair: Loose buttons are a two-minute fix. Small tears in the body if the shirt is otherwise in good condition ($20–$30 invisible mend is worth it for a quality OCBD that fits well).
Replace when: The collar has greyed irreversibly, underarm fabric has thinned, stained, or yellowed past correction, the shirt has shrunk enough to no longer fit correctly, or cuffs have frayed visibly.
The cascade move: A dress shirt that’s done in the professional tier doesn’t have to leave the wardrobe. Collar fraying or slight underarm yellowing? It becomes a WFH shirt, a fishing shirt, or a work-around-the-yard shirt. Step it down, don’t throw it out.
Trousers, Chinos, and Jeans
Laundry
Chinos: machine wash cold, inside out, gentle cycle. Hang or lay flat to dry. The dryer is the primary cause of chino shrinkage, seat wear, and loss of shape at the knee. A single high-heat cycle can shrink a cotton chino a full waist size. If chinos are lightly wrinkled but not dirty, steam them instead of washing — most wrinkles release in under a minute.
Dress trousers (wool or wool-blend): spot-clean first, dry clean only when necessary. For spot cleaning, blot (don’t rub) with cold water and a small amount of gentle detergent, then blot dry. Machine washing wool trousers shrinks them, destroys their shape, and can felt the fabric irreversibly. Dry clean no more than once or twice a year and steam between wears.
Jeans: wash far less than you think. Every wash fades indigo, stresses the weave, and works toward eventual wear. Wash inside out in cold water when they genuinely need it; air dry flat or hung by the waistband. Never put dark jeans in the dryer, the shrinkage from one high-heat cycle can turn jeans that fit into jeans that don’t. For mud: let it dry completely first, then brush off. Never rub wet mud, you’re just pushing it deeper into the weave.
Storage
Hang trousers and chinos on clip hangers at the cuff, or a trouser bar hanger at the waistband. Never drape them over a single bar, this creases the thigh permanently. After dry cleaning or pressing, hang dress trousers immediately to set the crease. The crease is a structural element; folding disrupts it.
Jeans fold fine and stack in a drawer or on a shelf.
Repair vs. Replace
Repair: Seat and inner thigh wear (the most common failure points) can be patched, re-lined, or reinforced by a tailor for $25–$50 — worth it for quality wool trousers and good chinos. Hem adjustments run $15–$20. Waistband let-out or take-in of 1–2 inches is achievable on most quality trousers. Zipper replacement on a $200 wool trouser is an obvious call at $20.
Replace when: Inner thigh wear has gone through the fabric and any patch would be visible; the trouser has permanently lost its shape; the waist requires more than 2 inches of adjustment.
Knitwear, Sweaters, and Fleece
Laundry
This is where most men make their most expensive mistakes. I’ve ruined sweaters. The lesson is simple but specific: cold water, gentle handling, flat drying, no exceptions.
Merino wool and wool blends: Hand wash in cold water with a wool detergent (Woolite, The Laundress Wool & Cashmere Shampoo, or a drop of gentle dish soap). Submerge and gently squeeze, don’t agitate, wring, or twist. Let soak 10 minutes. Drain, refill with cold water to rinse. Press out excess water gently. Lay flat on a clean dry towel, reshape to original dimensions, and air dry flat. Never hang a wet sweater, the weight of the water stretches the knit permanently, and it won’t recover.
If machine washing merino (some modern merino is designed for this): wool or delicate cycle, cold water, low spin, mesh laundry bag. Remove promptly and lay flat to dry. Never the dryer.
Cashmere: Same as merino, but more careful. Cashmere’s softness comes from finer fibers, which are also weaker. Hand wash only. Cashmere can be dry-cleaned, but frequent dry cleaning degrades it over time — hand washing is better for the garment if you do it correctly.
Cotton knits: More forgiving. Machine wash cold, gentle, inside out. Low heat drying is acceptable, but air drying extends life and prevents the gradual shrinkage that moves a medium toward a small after thirty wash cycles.
Fleece and synthetic knitwear: Machine wash cold, inside out, in a Guppyfriend bag or similar synthetic washing bag. Synthetic fleece sheds microplastic fibers with every wash — a washing bag catches the majority before it reaches the water supply. Air dry or tumble dry on low.
Pilling: Pilling isn’t a death sentence. It’s broken fibers tangling at the surface from abrasion, and it’s fixed with a fabric shaver, a $15–$30 tool that removes pills quickly and restores the sweater’s surface. Use it every few wears on garments prone to pilling. A pilled merino that’s otherwise structurally sound is worth $15 of defuzzing, not $150 of replacement.
Storage
Never hang knitwear. Hanging stretches the shoulders and elongates the body permanently. Fold and stack, or roll loosely and store flat.
For seasonal storage of wool and cashmere, moths are a real threat, their larvae eat keratin, the protein in animal fibers. Protect stored wool with cedar blocks or rings (sand the surface annually to re-release the oils), lavender sachets, or sealed storage bags for anything going away for more than two months. Always clean before storing, moths are more attracted to body soil than clean fabric.
Don’t use mothballs. They work, but the smell is nearly impossible to remove and the chemicals degrade fiber over time.
Repair vs. Replace
Repair: Pilling (fabric shaver). Small holes in wool or cashmere (a knitwear specialist or skilled tailor can invisibly mend these). Stretched cuffs (a tailor can re-knit). Loose seams (any tailor).
Replace when: Moth damage is extensive throughout the body, the sweater has permanently lost its structure from repeated wrong-temperature washing, or pilling is so relentless that defuzzing is a weekly chore rather than occasional maintenance.
Suits, Blazers, and Structured Jackets
Laundry
Most men dry clean their suits too often. Dry cleaning is a chemical process that gradually degrades wool fiber, strips the natural oils that keep fabric supple, and breaks down the interlining and construction of a structured jacket. A suit dry-cleaned after every wear won’t last as long as one dry-cleaned twice a year with regular steaming between.
After every wear:
- Empty all pockets
- Hang immediately on a quality wooden suit hanger — the hanger should fill the shoulder, not point into it
- Air out for 30–60 minutes before returning to the closet
- Brush lightly with a natural bristle clothes brush (boar or horsehair) in the direction of the nap to remove surface dust
Between wears: Steam to freshen and release wrinkles. Hold the steamer 2–3 inches from the fabric, never touching it. Direct iron contact on wool can cause shine, which is permanent. If you’re ironing rather than steaming, always use a pressing cloth (a clean damp cotton cloth between the iron and the jacket).
Dry clean only when: There’s visible staining that steaming and spot-cleaning can’t address, accumulated odor that airing and steaming can’t remove, or before long-term storage. No more than once or twice a year for a regularly worn suit.
Spot cleaning: A splashed or lightly stained suit doesn’t need the dry cleaner. Blot — never rub — with a clean white cloth dampened with cold water, working from the outside of the stain inward. For more stubborn spots, a tiny amount of mild dish soap on the cloth, followed by cold water blotting. Air dry, then steam the area.
Storage
Wooden suit hangers only, wide enough to fill the jacket shoulder without deforming it. Wire or narrow plastic hangers crush the shoulder padding and distort the collar over time.
Use breathable cloth garment bags for suits you’re not wearing frequently. Not sealed plastic, plastic traps moisture and promotes mildew, especially in humid climates. In Florida, a cloth bag or no bag is always better than a sealed plastic one.
Don’t pack suits and blazers tightly together on the rod. Compressed storage wrinkles fabric and prevents air circulation. If your closet is that tight, that’s a volume problem, not a storage solution problem.
Repair vs. Replace
This is where the repair case is strongest, because the cost basis of a quality suit makes nearly any repair worthwhile.
Always repair: Re-lining ($80–$150 and extends life another 5–10 years — the most underutilized suit repair there is). Button replacement ($20–$40). Seam repair on jacket sides, sleeves, or vents. Sleeve adjustment ($25–$40). Trouser waist adjustment within 1–2 inches.
Consider replacing when: The outer fabric has developed permanent seat shine that doesn’t respond to steaming. Moth damage is extensive. The silhouette is so dated that alterations can’t bring it current. Or the suit was inexpensive and fused construction has begun to bubble (visible separation between the outer fabric and the interlining creating a quilted appearance).
How to tell fused from canvassed: Pinch the lapel between your fingers and gently feel for two layers that can move independently. In a canvassed jacket, the floating canvas moves slightly between the outer fabric and lining. In a fused jacket, the layers feel glued together and are stiff and unified. Canvassed suits are worth repairing extensively. Fused suits have a shorter useful life and a lower repair investment threshold.
Leather Shoes and Leather Goods

The Monthly Routine
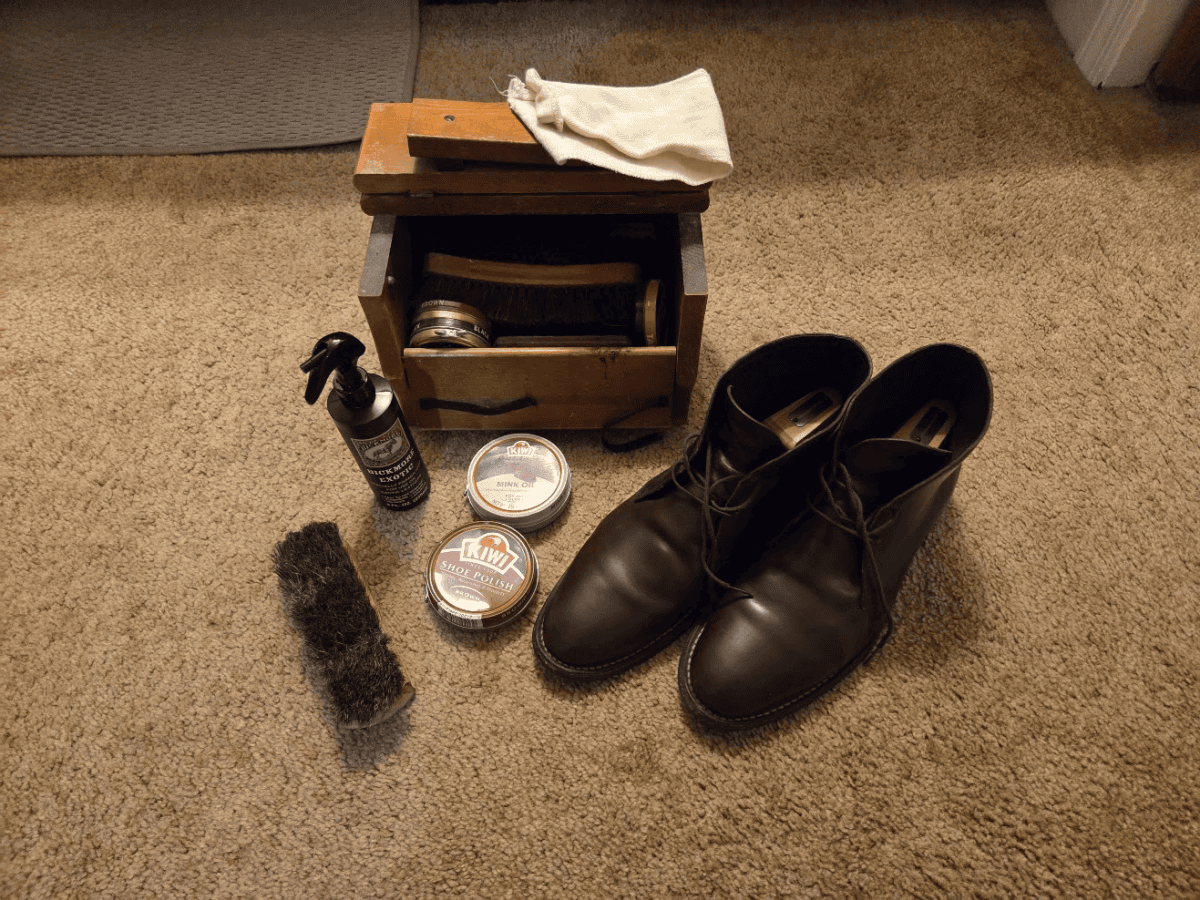
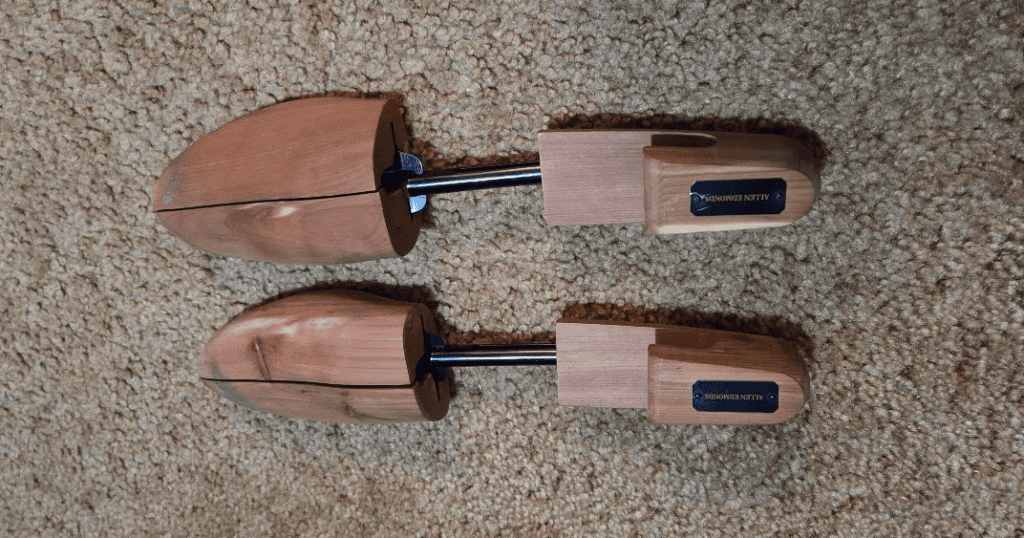
After every wear: put cedar shoe trees in immediately. Cedar absorbs moisture, holds the last’s shape, and keeps shoes smelling clean. This single habit prevents more shoe deterioration than anything else, and I’ve seen the difference firsthand between a pair maintained on cedar trees and the same shoe stored without them over two years. The difference isn’t subtle—after two years, the shoes stored with cedar shoe trees consistently looked better and held their shape far more effectively.
Before and after every wear, I give shoes a quick brush to make sure there are not spots on the polish.
Let shoes rest at least 24 hours between wears. Rotating between two pairs extends the life of each significantly.
Every 3–5 wears: wipe with a slightly damp cloth to remove surface dust and dirt. Allow to dry completely before the next step.
Monthly: Apply leather conditioner (Leather Honey, Saphir Renovateur) to clean, dry leather. This replenishes the natural oils that keep leather supple and prevents cracking. Apply sparingly, work in circular motions, let absorb for 15–20 minutes, buff with a clean cloth. Follow with a matching wax polish (Kiwi is widely available; Saphir Médaille d’Or is the professional standard and worth the cost for quality shoes). Two thin coats polish better than one thick one.
Every 2–3 months: Apply a water repellent treatment, especially before rainy seasons.
Resoling: The Most Underused Investment
A quality Goodyear-welted leather shoe can be resoled 3–5 times and last 20+ years with proper care. A resole from a quality cobbler costs $60–$150. For shoes that cost $300–$450, this math is obviously correct. The problem is that most men don’t know their cobbler’s name, or don’t have one.
Find a cobbler before you need one. If you live in a mid-sized city, one exists. For irreplaceable shoes, mail-in cobbling services like B. Nelson in New York are worth the shipping cost.
Signs shoes need resoling: the heel has worn unevenly, the sole has worn through to the welt, or you feel the ground through the shoe.
Note: Only Goodyear-welted or Blake-stitched shoes can be resoled. Cemented-sole shoes cannot be resoled economically.
Leather Goods: Belts and Wallets
Same conditioner, same schedule. A conditioned leather belt doesn’t crack at the fold point. A conditioned wallet stays supple instead of stiffening and eventually flaking. Apply a small amount every few months. Takes two minutes.
Storage
Cedar shoe trees in every pair, all the time, including during storage. Don’t store leather in sealed plastic, leather needs to breathe. A ventilated shoe rack or open shelf is better than a sealed bin. Seasonal or occasion-specific shoes can go in boxes; label the end of the box so it doesn’t become an archaeology project.
Technical and Outdoor Gear
Rain Shells and Technical Outerwear
Most technical outerwear relies on a Durable Water Repellent (DWR) coating that causes water to bead on the surface. Over time and washing, DWR degrades. When it fails, the outer fabric wets out (saturates and feels heavy and cold) even if the membrane underneath is still waterproof. This is the most common technical gear failure, and it’s mostly fixable.
Restoring DWR:
- Wash the jacket per manufacturer instructions (clean fabric accepts DWR better than dirty fabric)
- Tumble dry on low heat, or iron on low through a pressing cloth. Heat reactivates DWR that’s still present but collapsed. This step alone often restores performance without additional product.
- If the jacket still doesn’t bead up, apply a DWR re-treatment spray (Nikwax TX.Direct, Grangers Performance Repel) to clean, damp fabric and heat-cure.
Wash technical outerwear with a technical fabric cleaner (Nikwax Tech Wash, Grangers Performance Wash), not standard detergent. Standard detergent degrades DWR and affects breathability in Gore-Tex and similar membranes.
Down jackets: Wet down clumps and loses its insulating loft. Wash sparingly with a down-specific cleaner (Nikwax Down Wash). Add two or three clean tennis balls or dryer balls to the dryer and tumble dry on low, this breaks up clumping and restores loft. Dry completely; partially dried down mildews. It often takes two full drying cycles, which surprises most people the first time.
Storage: Never store down or synthetic-fill gear compressed in their stuff sacks for more than a few weeks. Extended compression damages the fill and reduces loft permanently. Store puffy jackets loosely hung or in a large mesh bag.
Athletic Wear
I have had my fair share of quick-dry shirts that seem to smell no matter how many times I wash them. Synthetics smell because bacteria colonize the fibers and persist through normal washing. Here’s the fix:
- Cold water, inside out, gentle or normal cycle
- Sport-specific detergent (Tide Sport, Nathan Sport-Wash) or a standard detergent with good enzyme activity
- Skip fabric softener entirely — it coats fibers, reduces wicking performance, and traps odor permanently
- Air dry when possible; heat degrades elastic and spandex
- For persistent odor: pre-soak in cold water with one cup of white vinegar per gallon for 30 minutes before washing. Vinegar breaks up the bacterial biofilm that detergent alone misses.
Waders
Wader care matters more than most outdoor gear care because a failure (leak) has immediate consequences on the water.
- Rinse with fresh water after every use, especially after salt or brackish water
- Hang inside-out in a cool, ventilated spot to dry in the garage (not in direct sun since UV degrades fabric and not compressed in a bag since fold creases become failure points)
- Store loosely rolled or hung, never tightly compressed for extended periods
- Check for leaks periodically: fill with water in a bathtub, or hold up to a bright light and look for pinholes. Repair small leaks with aquaseal or the included patch kit. A $5 repair prevents a $300 replacement.
Caring for Your Clothes on the Road
Business travel is where good habits either travel with you or don’t. Most men’s clothes come home from trips in worse shape than they left in — not because travel is hard on clothes, but because the habits that keep clothes maintained don’t make the trip.
Here’s the carry-on-compatible care routine for a 2–5 day business trip.
The Wrinkle Problem
A dress shirt that’s been rolled in a packing cube for four hours sometimes needs attention. The solution doesn’t require an iron. Run the hotel shower on the hottest setting, close the bathroom door, and hang the shirt near (not in) the steam. Leave it for 10–15 minutes. Most travel wrinkles release completely. For anything that doesn’t, most hotels have an iron in the room or available on request, call the desk before you assume you have to live with the wrinkle.
For suits: It is recommended to pack folded in half lengthwise with the jacket inside-out so the lining faces out, protecting the face fabric. Personally, I do not flip them inside out, I use a plastic dry cleaning bag to protect the outside. On arrival, hang and steam. Most travel wrinkles release within 30 minutes of hanging in a steamed bathroom. I’ve done this with a suit that spent twelve hours folded in a carry-on bag and pulled it out looking presentable.
What to Pack for Clothes Care

The travel care kit adds almost no weight and handles the situations that matter:
- Tide To Go stain pen — I keep one in my toiletry kit at all times. It has saved a dress shirt more than once. $3 and takes up no space.
- Travel-size Febreze or similar fabric freshener — for blazers and trousers that need a refresh between wears on a longer trip
- A mini lint roller — travel sized and irreplaceable
Extending Wears on the Road
A blazer that’s been brushed after each wear and hung overnight stays fresh for four days without dry cleaning. Dress trousers that are hung on the hotel trouser hanger and steamed the next morning can go the whole trip without a laundry service.
The one thing worth sending out on a longer trip (5+ nights): dress shirts. Most hotels offer next-day laundry service for shirts at a cost that’s less than a checked bag fee. Send them out midway through the trip, get them back pressed, and you’re covered for the second half without repacking a week’s worth of shirts.
The Hotel Hang
The single best on-the-road care habit: hang everything the moment you arrive. Don’t leave clothes in the suitcase. Unpack into the closet, use the hotel hangers (ask for extras if needed), and let the garments hang overnight before you wear them. Hanging resolves most travel compression wrinkles without any steam or iron at all. It’s free and takes three minutes.
Remember to maintain your gains when you’re on the road with our guide to staying fit in a hotel gym.
The Master Care Cheat Sheet
Wash everything inside out — protects surface, dye, and buttons from agitation.
Cold water, always — except for heavily soiled items or linens where sanitization matters.
Air dry everything you can — the dryer is the largest single source of premature clothing failure.
Low heat for anything that must be machine dried — not the default high heat setting.
No fabric softener on athletic or performance wear — it coats fibers, degrades function, and traps odor.
Hang suits and blazers on wooden hangers and steam; don’t dry clean — once or twice a year maximum.
Lay knitwear flat to dry, never hang it wet — hanging stretches the knit permanently.
Cedar shoe trees after every wear — the single best shoe care investment you can make.
Repair before you replace, cascade before you discard — the wardrobe gets better over time when nothing leaves before it’s truly finished.
Frequently Asked Questions
Can you wash dry-clean-only clothes at home?
Sometimes, but it depends on the fabric and construction. Unstructured wool garments may tolerate careful hand washing, while structured jackets and suits should generally be dry cleaned only when necessary.
Should you button shirts before washing?
No. Unbutton shirts before washing to reduce stress on the button threads. Button the collar and one or two buttons only after hanging to dry to help the shirt keep its shape.
Why do clothes pill?
Pilling happens when loose fibers become tangled through friction. A fabric shaver safely removes pills and restores the garment’s appearance.
Should you zip zippers before washing?
Yes. Zip zippers closed to prevent them from catching on other garments during the wash cycle.
Can clothes last 10 years?
Absolutely. High-quality clothing cared for properly can last a decade or longer, especially dress shoes, wool suits, sweaters, and well-made shirts.
Should you wash new clothes before wearing them?
Yes. Washing removes finishing chemicals, excess dye, and residues left from manufacturing and shipping. It also lets you see how a garment reacts before wearing it for an important occasion.
Can you overdry clothes?
Absolutely. Overdrying is one of the fastest ways to shrink cotton, weaken elastic, fade colors, and reduce fabric lifespan. Remove clothes while they’re still slightly damp whenever possible.
How often should you replace running clothes?
Replace technical running gear when it loses compression, elasticity, moisture-wicking ability, or develops odors that remain after proper washing. Most quality running shirts and shorts last several years with correct care.
The Bottom Line
I used to have to replace clothes way more often than necessary and think that was just how it worked. It’s not how it works. The care habits in this guide cost almost nothing, a clothes brush, cedar shoe trees, a garment steamer, and a fabric shaver together run under $150 and the difference they make to a quality wardrobe over five years is significant.
Wash less. Dry with less heat. Repair more. Replace intentionally. Everything lasts longer than you think it will, if you let it.
Clothing isn’t disposable. Treat it like equipment, not a consumable, and it will reward you for years.
Taking care of your clothes isn’t about being precious with them. It’s about getting the maximum value from every purchase while reducing waste and avoiding unnecessary replacements. For what to own, see Men’s Capsule Wardrobe: A Practical Guide for Real Life. For what to wear in each context, see The Ultimate Men’s Style Guide for Every Occasion. For grooming tips, review Men’s Grooming Guide: How to Look Sharp in Every Situation.
Leave a Reply